 |
 | ||||||||||||
|
CG 101 - Page 3
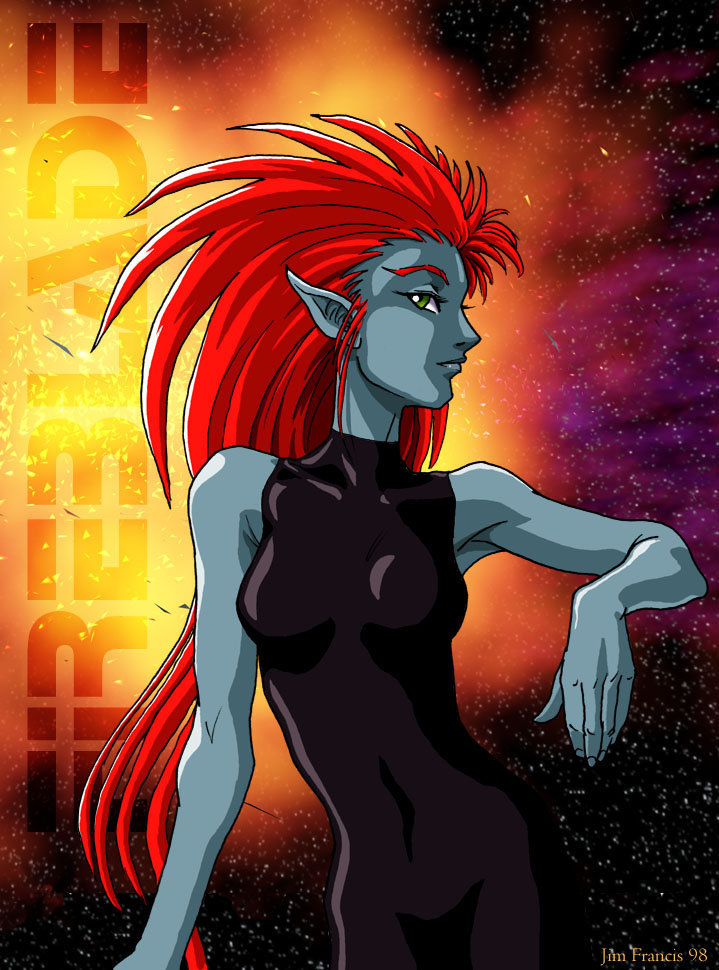
Here's a method I often use for eyes: I enable "Preserve Transparency" on the iris layer, and use a circular gradient to give the iris a jewel-like color. Note that the bright color on a jewel is facing away from the light source, not toward. Normally, it's necessary to surround the iris with a lasso before using the gradient tool (so it won't affect the other eye), but in this case it wasn't really necessary.
The eye is finished with a dark pupil, white highlight, and the shadow of the eyelid on the white of the eye. At this point, the work on the character is mainly finished.
Time to add the background. In this case, to keep things simple, the background was pre-done in a different program, 3DStudio MAX. A similar background could have been created entirely in Photoshop using the airbrush and blur tools, but that's a story for another day. After placing the background behind the character, final color and brightness adjustments are done to make the character look right in her surroundings. This can be done by filling a layer with a new color (enable "Preserve Transparency" first!), or by adjusting existing colors with Brightness/Contrast, Color Balance, Hue/Saturation, Variations, etc. Once the color is right, it's often convenient to merge the color layers into a single layer, which saves memory (as the file is usually quite large by now) and makes moving the character against the background easier (link the color layer(s) to the ink layer to move them together). Position, add fancy titles and/or signature, crop, flatten, resize, and save in JPEG format for web display. And there you have it. You can see the final web image here. |


